Avocado Plushie: Learn how to sew by hand this easy and cute avocado felt food craft plushie through this DIY step-by-step sewing tutorial.

Video Tutorial on my YouTube Channel ❤️
-----------------------------------------------------------------------------------------------------------------------------

Tools/Materials:
- Felt:
- Light Green
- Green
- Dark Green
- Copper
- Black
- Pink
- Thread:
- Light Green
- Green
- Dark Green
- Copper
- Fiber Fill Stuffing
- Fabric Glue
- Sewing Needle
- Optional: Ribbon
- Optional: Black Plastic Safety Eyes
- Marker (if attaching black plastic safety eyes onto your plushie)
Note: If you do not want to use black plastic safety eyes, you can cut out two circles of black felt and glue them onto the plush when you glue on the mouth and cheeks.
-----------------------------------------------------------------------------------------------------------------------------

Step 2. Thread and knot your sewing needle with light green thread. Then use the fell stitch to the sew the light green piece onto the green piece as shown.


Step 3. Thread and knot your sewing needle with copper thread. Then use the fell stitch to the sew the copper piece onto the light green piece as shown.


Step 4. Thread and knot your sewing needle with green thread. Then use the fell stitch to the sew the green piece onto the dark green piece as shown.


Step 5 (Optional). Attach black plastic eyes onto the plush. If you are not attaching black plastic safety eyes onto your plushie, you can proceed to Step 6.

Step 5.a. Place the eyes, mouth, and cheeks onto the plushie how you want the face to look when the plush is complete.

Step 5.b. Using a marker, make a dot where each of the safety eyes are on the plushie.


Step 5.c. Using scissors, make a small cut through the light green piece where each of the black dots are on the plushie.

Step 5.d. Using a marker, press on each of the dots so that the marker bleeds through to the back of the dark green piece.


Note: The marker will probably bleed through onto your work surface. So make sure to place the plush over something like a poster board when making these dots.

Step 5.e. Using scissors, make a small cut through the dark green and green piece where each of the black dots are on the plushie.

Step 5.f. Attach the black plastic safety eyes onto the plushie by placing the eye through the hole and pressing the backing on.


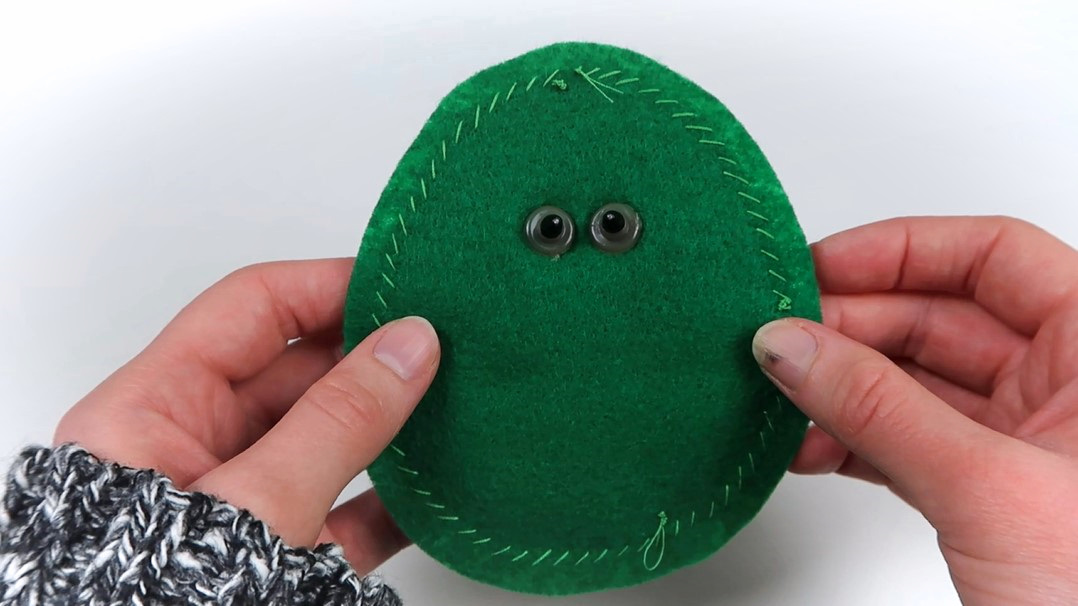
Step 6. Thread and knot your sewing needle with dark green thread. Then use the blanket stitch to sew the two dark green pieces together from the start and end points shown below.


Step 7 (Optional). Sew ribbon in between the plushie. If you are not sewing ribbon onto your plushie, you can proceed to step 8.
Step 7.a. Take a piece of ribbon and fold it into a loop.


Step 7.b. Place the ribbon in between the plush with the loop of the ribbon sticking out of the plushie.

Step 7.c. Sew the ribbon in between the plush.


Step 8. Fill the plush with fiber fill stuffing.


Step 9. Sew the opening closed using the blanket stitch.


Step 10. Glue on the mouth and cheeks onto the plushie. Also, if you did not attach black plastic safety eyes onto your plushie, you can instead glue on two black circles of felt as the eyes.

All done!! 💚💚💚


